ESCAPE FROM THE HAUNTED MANOR
Game Explanation
You are a group of talented investigators who are investigating a series of disappearances in the Azumabashi neighborhood. You identified a house where the suspected perpetrator of the crime is hiding, and go there undercover to investigate.
However, the front door is closed.
It seems that in order to escape from the house, you have to find out the truth of the case.
STEP 1 – Where The Key Is Hidden
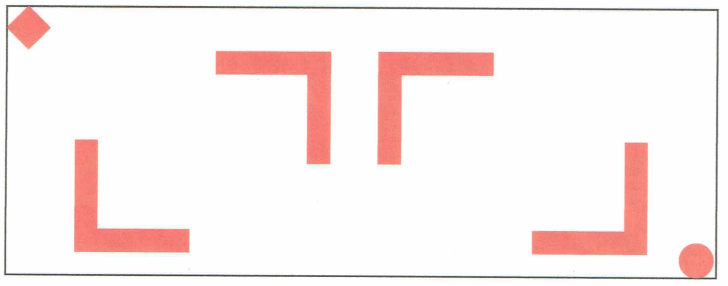
The first place you decided to investigate was the kitchen. Collecting all the puzzle pieces will tell you something. Exploring the room, you found pieces of panels with illustrations on them. There are a total of five pieces hidden in the room, and when you put them together correctly, you found the key hiding place.

It appears that the key is hidden in a flowerpot. After examining every inch of the kitchen, you found a small flowerpot. As shown in the illustration, you found a key there and were able to proceed to the next room.
Next, you arrived in a Japanese-style room. Torii Gate symbols are displayed throughout the room, and a landline phone is placed in front of a panel with a cipher written on it. As you explored the Japanese-style room, the atmosphere suddenly changed and a low, eerie voice echoed through the room.
“Are you Ready?”
If this continues, you may encounter the suspect… You and your friends are forced to hide in the places marked with a torii gate. The suspect ransacks the room. And eventually, one of you is found. The suspect locks your friends in a room near the Japanese-style room and goes away.
STEP2 – Rescuing your friend
If you look at the door of the room where your friends are trapped, you will see some kind of code pasted on it. However, it seems that this clue is not enough to solve the cipher. In fact, there is a similar code pasted inside the room where the player is locked up.
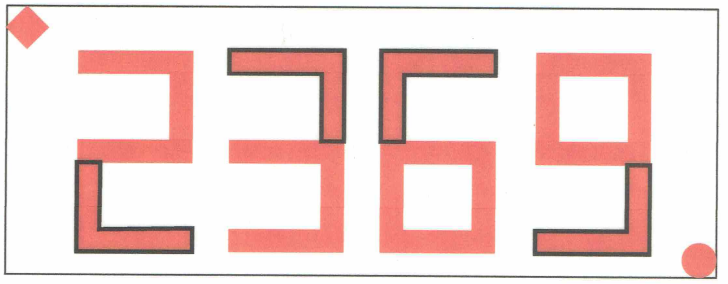
By combining the information inside and outside the room, the four-digit number to open the door is revealed.
[2369]
Entering this number into the lock on the door, you were able to rescue your friend.
STEP 3 – Collecting Building Blocks
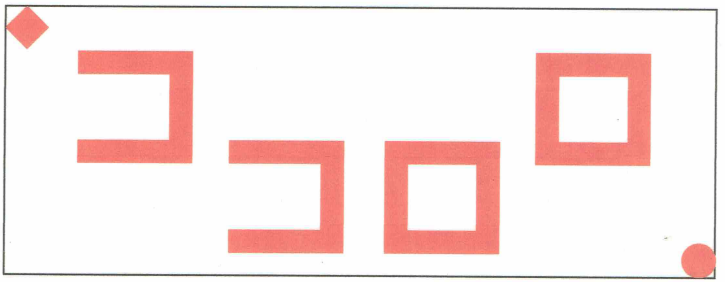
After exploring the Japanese-style room, you noticed that there was a box with hollow shapes of “circle,” “triangle,” and “square” embedded in the wardrobe. It seems that something will happen if you can fit something with the same shape in this place. You searched every corner of the rooms and found blocks of wood with the same shape as the hollows.
If you fit the building blocks you found into the corresponding holes, you will get a new key.
STEP 4 – Reading the Diary
When you entered a new room with the key you got, you found many dead bodies lying there. It seems that all the people who had disappeared had been slaughtered by someone in this house…
If you examine the victims carefully, you can get the handwritten diary pages of the suspect. There are five notes in total.
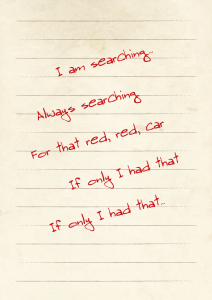
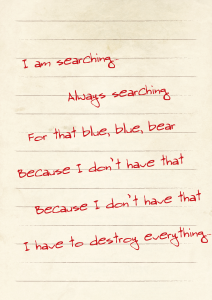
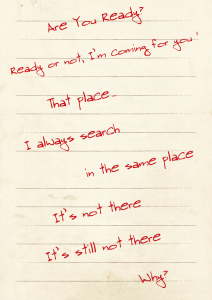
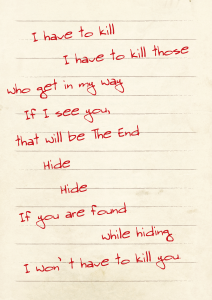
It seems that the killer does not kill people who are hiding during hide and seek. It is also said in his notes that he always searches the same place. From the information in the notes, you know that the murderer is looking for a blue bear and a red car.
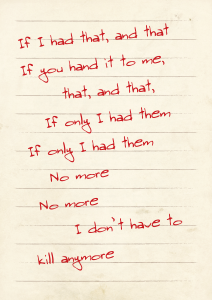
The same place is the place where the friend that was caught chose to hide when they encountered the suspect for the first time. In other words, if you can find what the suspect is looking for, play hide-and-seek with him again, hide in the same place, and hand him the blue bear and the red car, you may be able to solve the case.
You and your friends have started a search to find a blue bear and a red car. You could find the toy “red car” through your search. However, the blue bear could not be found at all.
Where on earth is it?
It seems that there is still a mystery in this house that needs to be solved…
STEP 5 – Solving the Telephone Puzzle
When you reached the deepest part of the house, you found a single landline phone and a panel with a cipher written on it hanging on the wall nearby. You and the others saw something similar in the Japanese-style room.

When you lifted the receiver of the landline, you heard a call from the Japanese-style room. You had to split up and use the phone to combine the two pieces of information. When the two pieces of information were combined, a single sentence could be formed.
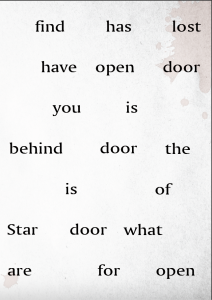
“To find what has been lost, you have to open the door. What you need is hidden behind that door. If the Ofuda is opposite of the Star the door to what you are looking for will open.”
As soon as you solve the puzzle, the suspect appears from the deepest part of the house, but you and your friends manage to get away and hide. After that, you went back to the place where the suspect appeared and found a small hidden room, and inside that room, you found the Ofuda.
STEP 6 – Finding the blue bear
From the code on the phone, you knew that you could find the lost object by placing the Ofuda opposite the star.
So, where exactly was the place opposite the star?
The star was on the kitchen ceiling.
Opposite to the ceiling, there is the floor. You turned up the carpet and found an unnatural hollow there. When you put the talisman there, a small door opened and a blue bear came out.
STEP 7 – The Last Hide and Seek
You have managed to find the two toys the suspect was looking for. Now all you have to do is hand them over to him.
You hid and when you all said “I’m ready,” a few moments later, the suspect appeared. As in the first hide-and-seek game, the suspect opened the same place. You handed the two toys you found. The suspect held the two toys in his arms as if they were precious to him and gave you a key in return.
With the key, you were able to open the front door and escape, and the case of the mysterious disappearances was successfully closed.